
The awards tool in VIULearn allows instructors to create and issue badges and certificates to students. Awards are not official VIU credentials. Instead, you can use badges and certificates to gamify your course, or to reward specific achievements and milestones.
Badges and certificates
There are two types of awards in the awards tool: Badges and certificates. Badge awards consist of a badge icon and a description of what a student needed to do to achieve that badge. Certificate awards include a badge icon and description. The difference is that they allow students to generate a PDF certificate with information about their award. The information that is on the certificate depends on the template that you use.
Certificate templates
All certificates use a PDF template. The template is a PDF form that uses replacement strings to populate content such as the name of the person who received the award, the award criteria and the date it was issued. You can use the default template that is provided in VIULearn or create your own.
| Information | Replacement String |
|---|---|
| Course Start Date | {CourseStartDate} |
| Course End Date | {CourseEndDate} |
| Course Name | {CourseName} |
| User First Name | {UserFirstName} |
| User Last Name | {UserLastName} |
| User Full Name | {FullName} |
| Student Number | {OrgDefinedID} |
| Award Date | {AwardDate} |
| Award Expiration Date | {AwardExpiryDate} |
| Award Name | {AwardName} |
| Award Description | {AwardDescription} |
| Award Evidence | {AwardEvidence} |
| Issuer Name | {IssuerName} |
| Issuer Contact Information | {IssuerContact} |
There are two stages to creating a template. First, you want to design what the certificate will look like. This can be done in PowerPoint, Word or any other program that allows you to save your file as a PDF. You can even start with a free template like these available for PowerPoint or these available on Canva as your underlying design. Make sure when you save your PDF that you have left the fields you want VIULearn to automatically fill in blank.
Once you have your PDF certificate design, you can use Adobe Acrobat Pro to add the form fields for your chosen replacement strings. If you do not currently have Adobe Acrobat Pro installed on your workstation, please contact VIU's IT department for assistance setting up this software. Please note that you will need to request this software for each individual work station where you may need to work on your templates so we recommend only creating templates from your primary work computer rather than trying to do this on an instructor station in a classroom or a computer in a lab.
Create a form in Adobe Acrobat
- Open your template in Adobe
- Select Prepare Form from the options on the right hand side.
- Click Start to allow Adobe to scan your PDF and identify where it believes your fields are.
- Don’t worry if Adobe doesn’t locate all of the desired fields or if it adds a few extra, you can add, remove, and relocate these fields.
- To add additional fields, click the Add Text Field button (in the upper toolbar) and then click and drag anywhere on your template to create the field.
- Make sure you create enough space for the longest possible input. If the text is larger than the space for it when the certificate is generated the excess will be cut off.
- To delete any excess fields Adobe created, make sure you have the select tool chosen in the upper toolbar and then click on the extra field. Press Delete on your keyboard or right click and choose Delete from the context menu to remove this field.
- Once you have the appropriate fields in place you will need to format each field:
- Double click on the field to open it's properties.
- On the General tab, put the desired replacement string in the Name and Tooltip boxes.
- On the Appearance tab, select your font, font size, and colour.
- On the Options tab, make sure you check the box for Multi-line if you want text to be able to wrap if it is too long to fit on one line. You can also set the text alignment on this tab.
- Save your template.
- Once you have set up all of your fields and saved your work, you can click Preview and type some sample text into each field to confirm that your chosen font, font size, and colour appear as intended.
- Make sure you delete this sample text and save the blank form before uploading your template to VIULearn.
If you don't want to design your own certificate, there are several certificates already available in VIULearn. You can see them in the table below.
Certificate 1
Certificate 2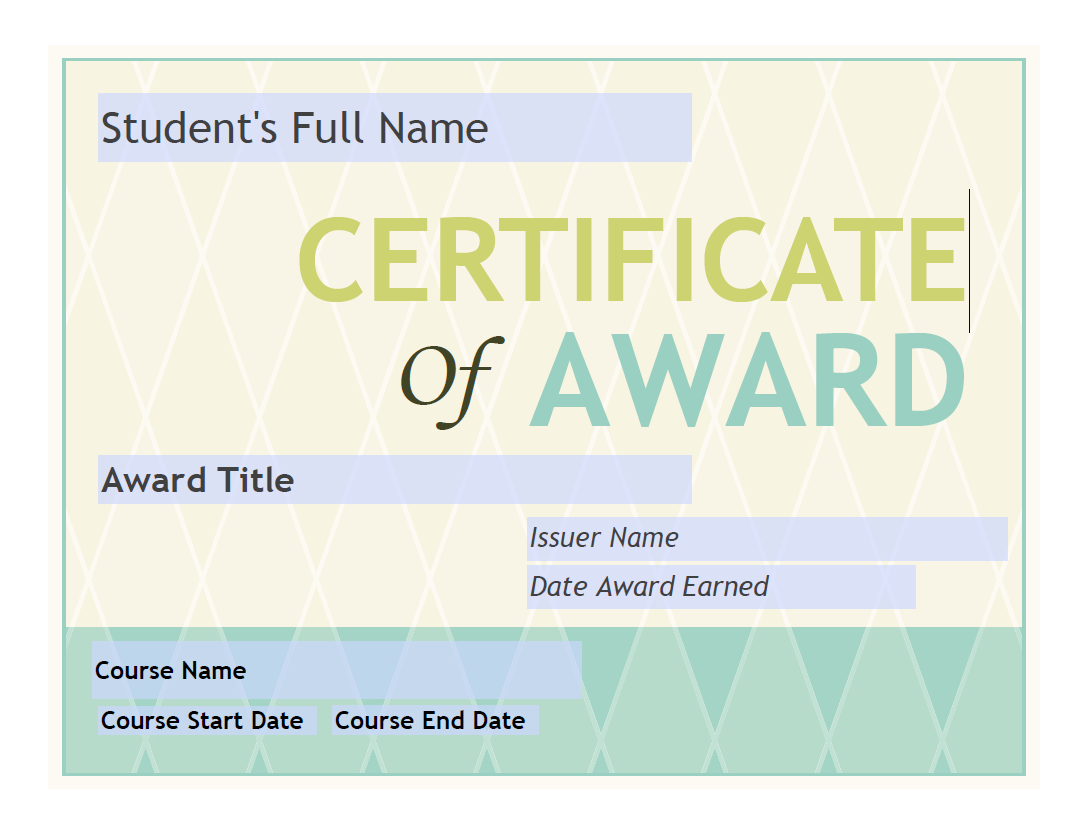
Sparkler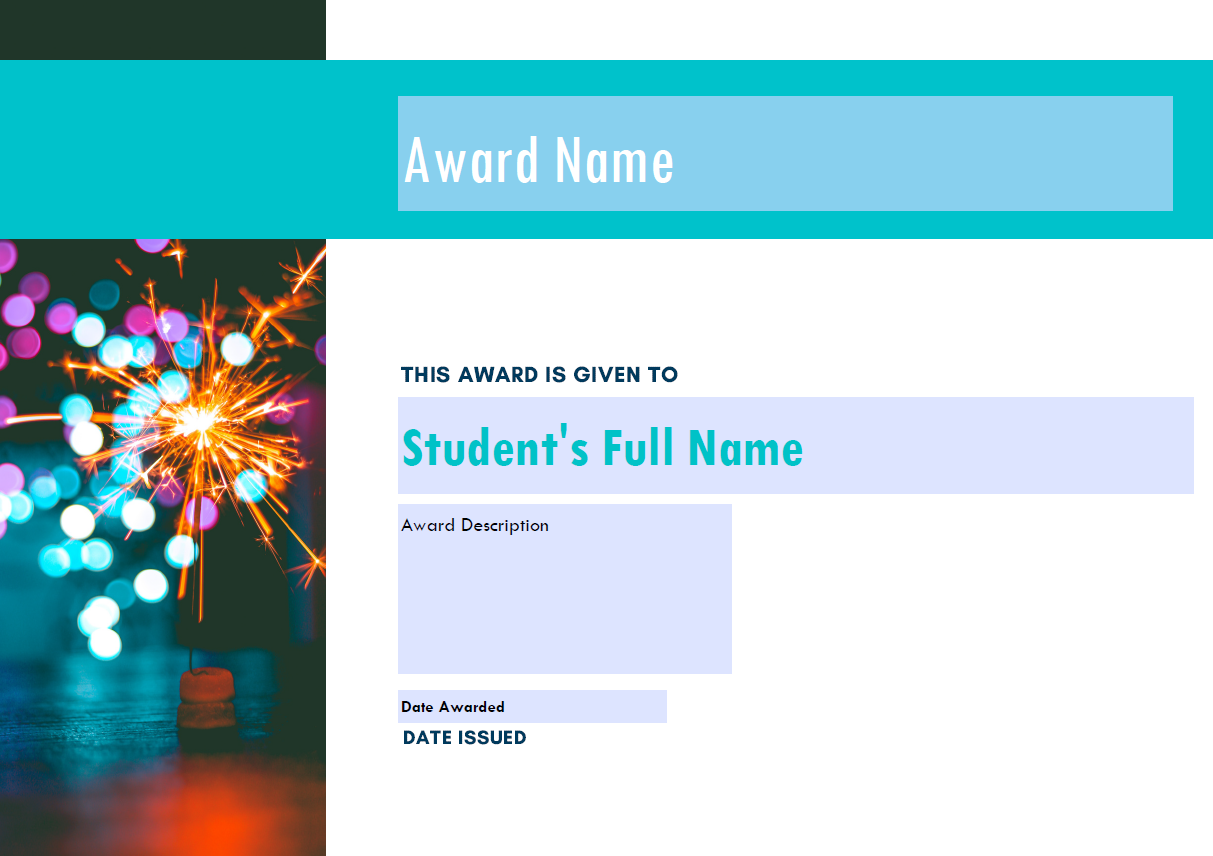
Leaves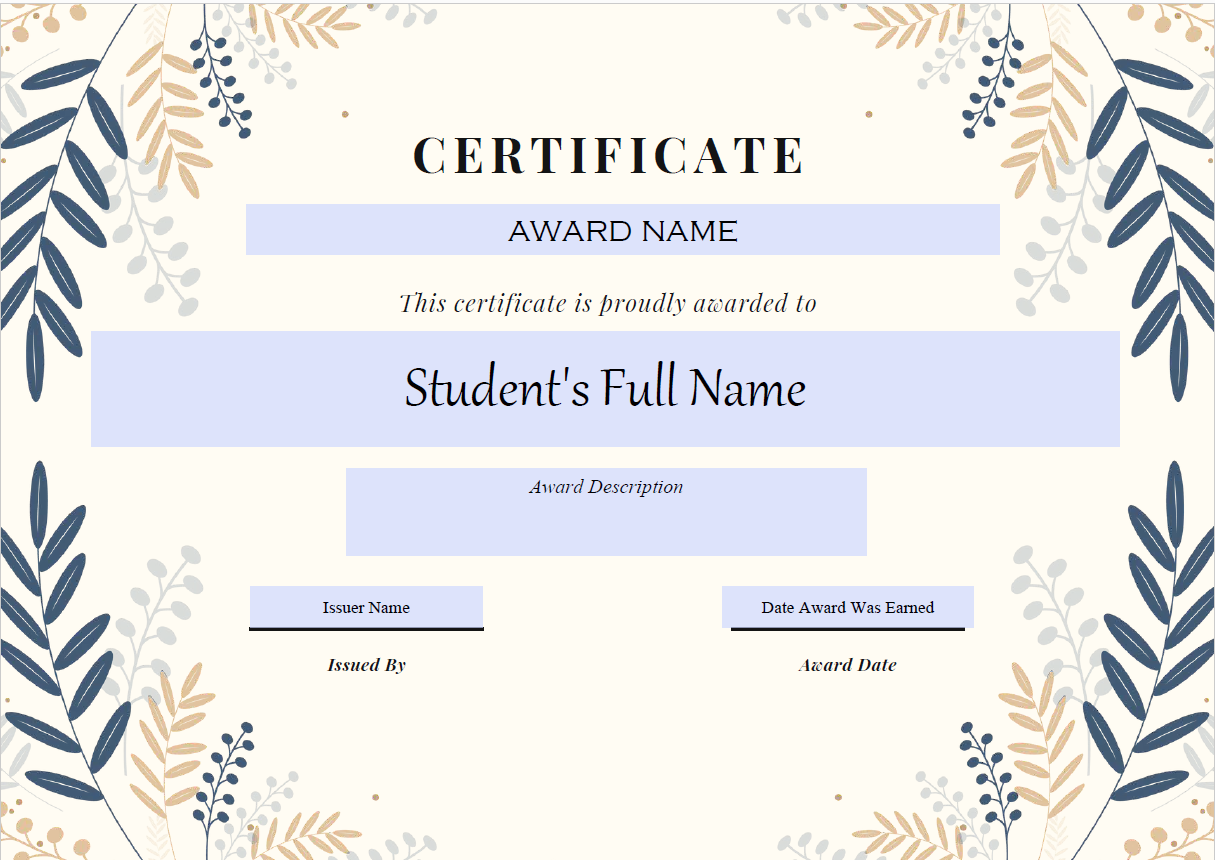
Blue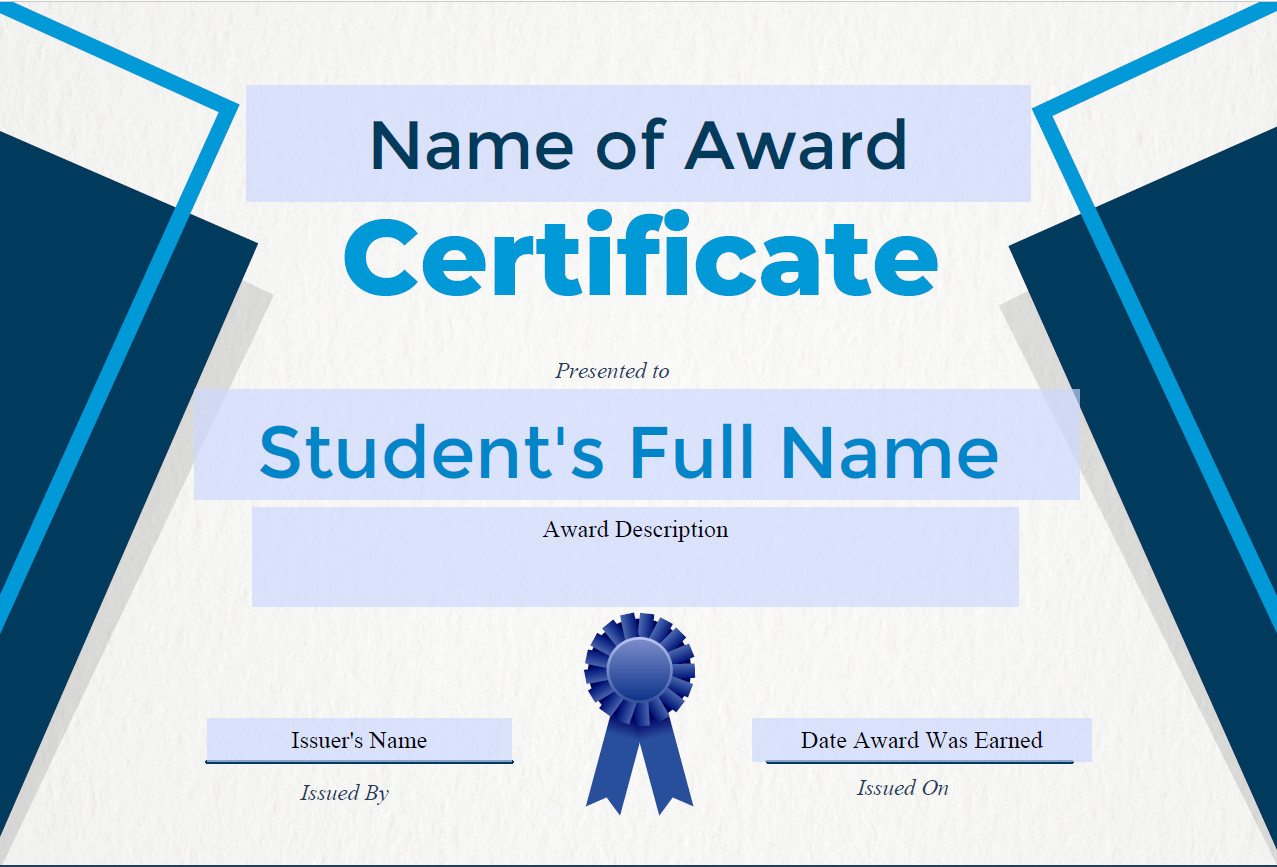
Green
Gold
Stars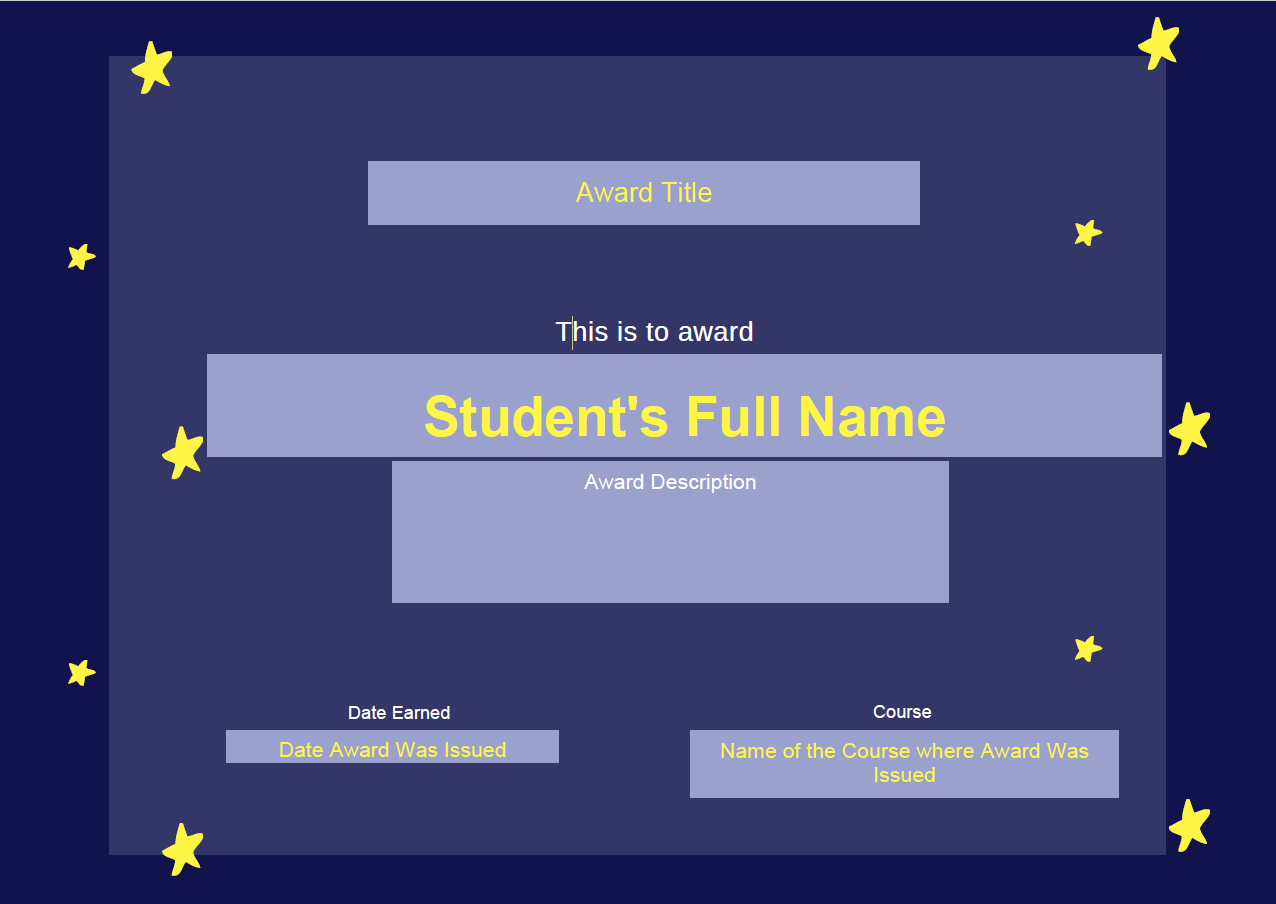
Add Awards to your course
Once you have set up your badge or certificate, you will need to decide how you want it to be issued to students. You can use release conditions to have awards issued automatically when a student meets the condition or you can issue awards manually.
If you want to preview what the issued award will look like, feel free to add any of the CIEL_Demo_Student accounts (there are 10 to choose from) to your course as a student and manually issue the award to them. These accounts are dummy accounts used for testing and will allow you to see exactly what students will be able to download before any of your students actually earn your award.
- In your VIULearn course, select Assessment and then Awards in the navigation bar.
- Go to the Course Awards tab.
- Click the blue Add Award to Course button.
- If you are reusing a reward, you can click the checkbox beside it and then click the blue Add button at the top of the page to add an existing award to your course. Otherwise, select the gray Create button.
- Give your award a name and description.
- These will both be visible to learners and anyone they share their award with.
- Beside the Award Type heading, select either Badge or Certificate.
- Choose your award availability
- As the award creator you can always see all of your awards in any of your courses. You can choose to share your award with other instructors in your course or with all instructors at VIU.
- If desired, set an expiry date.
- Select the award image and (if applicable) certificate template.
- Enter your information in the Issuer Information section.
- Click Save and Close.
Conditions can be used to automate your awards. Students who have met the criteria for your award will be automatically given the award within five minutes of meeting the award’s criteria.
Conditions in the awards tool are the same as release conditions everywhere in VIULearn. If you have not worked with release conditions before (or even if you have) we strongly suggest that you set up a consultation with a Learning Technology Support Specialist to talk through your award conditions to make sure they will behave as expected before adding conditions to your course.
Once you are ready to add conditions to your award you can do so with the steps below:
- Open the Awards tool (Assessment > Awards in the course navigation bar).
- Go to the Course Awards tab.
- Under the award you want to add conditions to, click Edit Properties.
- Click the grey Create button.
- Use the drop down menus on screen to set your condition and then click Save to add the condition to the award.
- If you add more than one condition, use the drop down option that appears to choose whether students must meet all of the conditions or any one condition in order to earn the award.
- Note: Release conditions only allow you to set this to ALL or ANY. If you want students to meet multiple conditions, but not all conditions, please email us at learnsupport@viu.ca for assistance with figuring out how best to ensure students are meeting all the required conditions.
- When you are done adding conditions, click Save.
Whether or not your award has conditions attached to it, you can manually issue awards to specific students at any time.
- Open the Awards tool (Assessment > Awards in the course navigation bar).
- In the Classlist Awards tab, check the box next to the student(s) you want to give an award to.
- Click the blue Issue button at the top of the page.
- Select the award from the drop down menu.
- Enter what the student did to earn the award in the Award Criteria box.
- This information will be visible to the student(s).
- Click Issue
If you need to revoke an award for any reason, you can do so at anytime.
- Open the Awards tool (Assessment > Awards in the course navigation bar).
- On the Classlist Awards tab, check the box next to the student(s) whose award you want to revoke.
- Click the gray Revoke button.
- Select the award you want to revoke from the drop down menu.
- Enter a reason for revoking the award.
- Click Revoke.